The Art of Classical Osteopathy
By Chris Bates, DO and Animal Therapist
If you’re here reading this blog you’ve either 1) heard of classical osteopathy and want to learn more or 2) you’re saying to yourself “Wait, there are different types of osteopathy?”. Either way, we welcome you to the discussion. Let’s dive in!
Modern vs. Classical Osteopathy – What’s The Difference?
Classical Osteopathy is informed by evidence, but led by Principles. The basis for Osteopathy is the realization that the being (animal or human) is a body ‘in’ lesion, not a lesion in the body.
There is no separate entity that is the condition, the animal or human exists AS the lesion. The form of the patient is a result of their internal and external environment which in turn is a result of the various forces upon the patient.
These forces could be physical (chemical, trauma, genetic) or perhaps emotional (grief, excitement, etc).
Perhaps one of the most divisive phrases used when teaching classical Osteopathy is “The body doesn’t go wrong”, but when you change your perspective to an Osteopathic view, this is obvious. The body is only doing what it can with the available afferent information it receives.
Our treatment is based upon this understanding and the guiding natural principles set out by Andrew Taylor Still.
The osteopathic principles
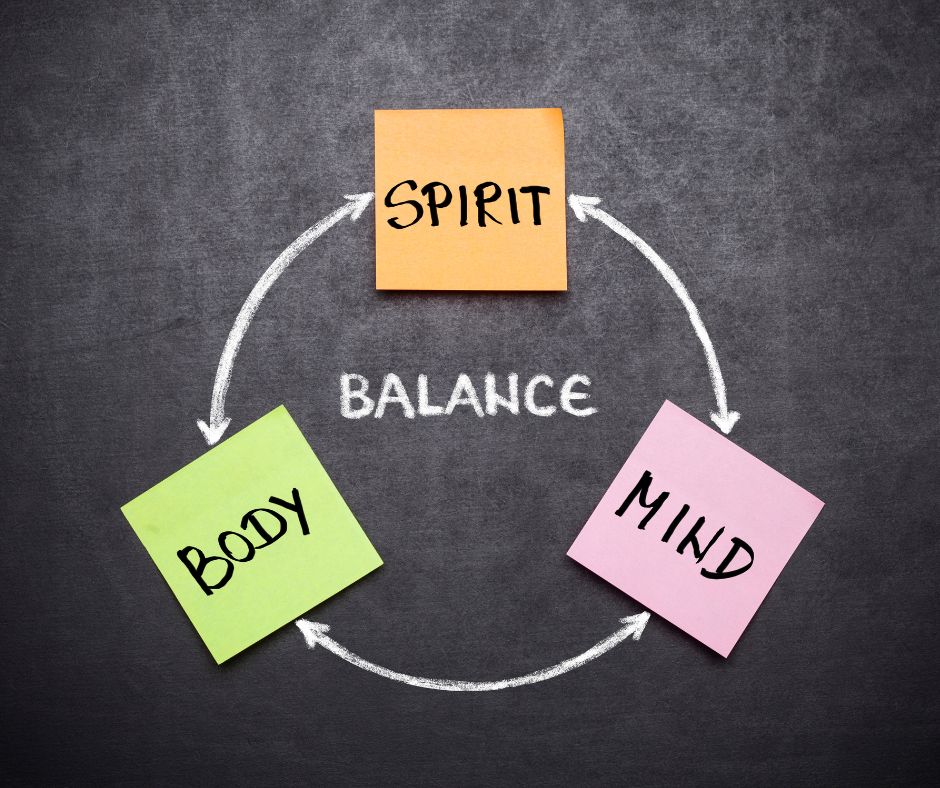
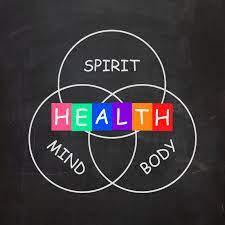
- The body is a unit of body, mind, and spirit.
- The body is capable of self-regulation and self-healing
- Structure and function are interrelated.
- Treatment is based upon an understanding of the above three principles.
Unfortunately, many courses available today in the human or animal realms of therapy are not guided by these principles as strongly as we believe to be necessary.
To be called an “Osteopathic” education, some institutions will only explain the principles and philosophy of Osteopathy in a historical context. It is our belief as a college that principles and philosophy are what set disciplines apart and create the unique viewpoints that further our understanding of health.
To truly use principles in practice, they must be taught in a way that makes them not only relevant to modern clinical work but applies them as a lens through which to see.
Osteopathy of course has limitations as any approach does. For example, when the vital reserve of the body is depleted and overwhelmed, replacement, supplementation, or removal procedures (Medical allopathy) are required to support life until the vitality of the body is sufficient to maintain its homeostasis.
No sensible Osteopath or Osteopathy course would suggest that Osteopathy is the only required intervention in all scenarios. This fact is itself part of Osteopathic thinking. Both approaches are correct for the situations they are suited for.
A box can cast a square shadow or a rectangular one, both are representations of the same reality but seen from different angles. Neither shadow is wrong but neither is displaying the full truth either.
To have Osteopathy as it was intended with its principles in place means that a wider view of that ultimate truth is more visible. To dispense with the principles means only looking from one angle and only seeing part of the picture.
An example of Medical view Vs. osteopathic:
It could be said that the ‘dysfunction’ talked about in medical terms may be better described as ‘altered function’. As we know from our Osteopathic Principles, Structure and Function are reciprocally interrelated.
This means that to destroy the function it is performing would mean destroying the structure as it presents itself. The function is serving a purpose, our job is to discover that purpose and highlight its redundancy.
Classical Osteopathic techniques
Body Adjustment
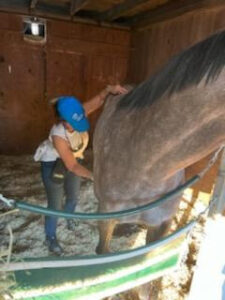
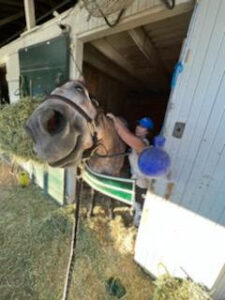
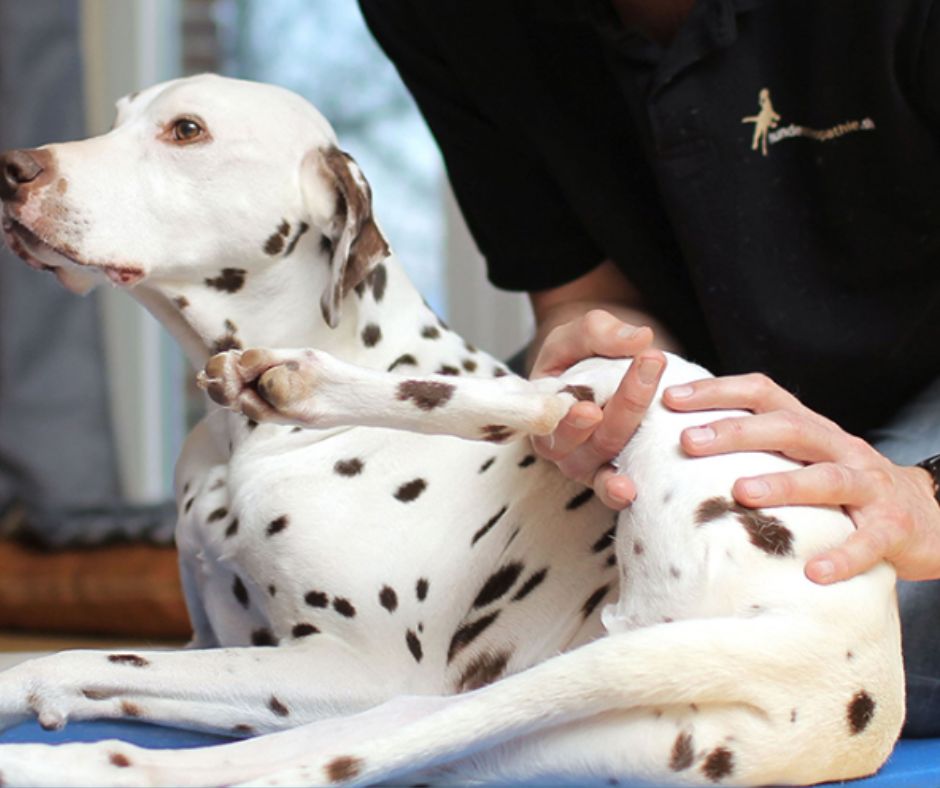
Above all others, the General Osteopathic Technique (GOT), known in animals as Osteopathic Articular Balancing (OAB) is the most important approach in classical osteopathy.
It is used to both assess AND treat problems in the body. It does this by moving every tissue in the body through its full range of motion. After all, proper motion is essential for proper health (reference).
OAB is applied by focusing on the joints. If the joints are taken through their full range of motion, each tissue will reach its full intended range as well.
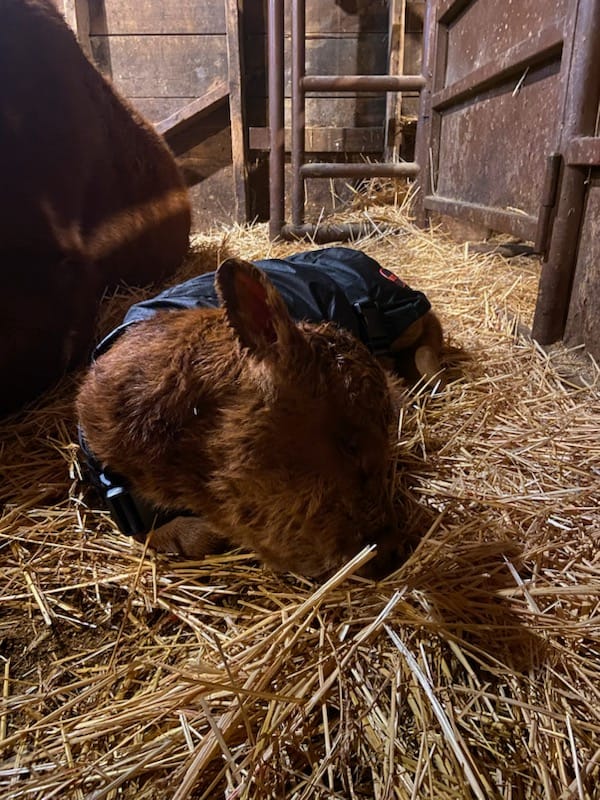
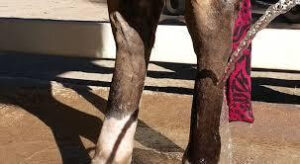
For example, if the elbow of a dog or horse is flexed and extended to its maximum potential, the osteopath will in turn move the associated muscles, tendons, ligaments, nerves, and blood vessels to their maximum within that region.
This passive motion creates proprioceptive change in the nervous system, leading to a balancing of the body as a whole.
When practicing osteopathy as it was originally intended, OAB should first be applied as a global assessment and treatment.
Once complete, the osteopath will have a clear osteopathic diagnosis as well as the majority of necessary treatment complete. Now it’s time for the finishing touches if needed!
A few techniques that pair well with well-developed OAB:
Functional Technique
Indirect pressure can be used after OAB, before OAB, or during OAB to get the desired effect.
Cranial Osteopathy
Direct effect on the nervous system and mental health. Promotes proper flow of cerebrospinal fluid, essential for the health of the system and the body as a whole.
Final Thoughts
Osteopathic thought and the application of its principles should be the foundation for all students in animal osteopathy.
At LCAO, we strive to give our students the right foundation based on classical osteopathic principles.
This will help them stand on solid ground in their practice and help further the field of animal osteopathy in a direction that mirrors that of A.T. Still’s original intent.
As different therapy modalities grow and evolve, there is a need to continue asking the question, “Are we going in the right direction?” And “is this what was originally intended by the founder of our modality?”
If the answer is yes, then we push on! But if the answer is no, we need to reconsider our direction as members of the osteopathic community.
Osteopathy should not be immune to change, however. A T Still himself said “Dig on” in regards to continuing the work and development.
Changes continued through Osteopathic history such as the development and refinement of Cranial Osteopathy, the better understanding of nutritional variables, and the understanding of spinal mechanics by pioneers like Fyette.
Over the past few decades, we’ve seen a shift in osteopathy, as is the natural progression. We are seeing wonderful old and new techniques being taught and developed.
As we move forward, let us also look backward to see if we are still in line with the original osteopathic principles and ideals. It is seeing the principles and ideals as foundational to any technique that allows us to remain “Osteopaths”.
Something that is particularly difficult with regulating osteopathy is that it is based on principle, not technique. In answer to the question “What is Osteopathy?”, One could simply say “Osteopathy is what the Osteopath does”.
This is still no excuse for the crumbling of proper training. Poorly taught principles lead to shallow technique development. Without students understanding why they are doing what they do, courses will only produce manual therapists, not Osteopaths.
Proper osteopathic thought leads to a classical approach. Osteopathy for animals should be no different.